Homemade strawberry jam from just 3 ingredients? Yep, it’s just that easy with this simple strawberry jam recipe. We’ve got to warn you though, once you’ve tasted homemade strawberry jam you’re not going to be able to go back to eating the store-bought variety… so make sure you stash a few jars away.
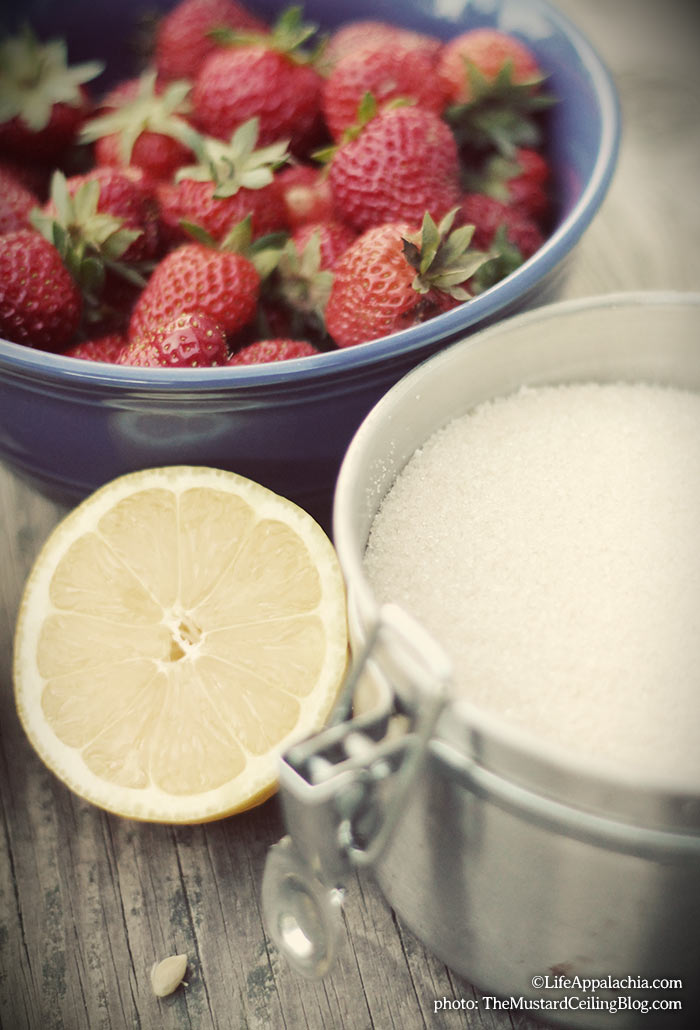
Ready to make some strawberry jam? Here’s what you’re going to need:
1) Photographer and Blogger, Elizabeth Morton, from The Mustard Ceiling Blog*. (Lucky for me she’s renovating a house down the street, so, score for me. Not sure if it will work out for you so easily….) *Optional if you don’t need to write a blog post.
2) About 6 cups of strawberries. They’ve gotta be fresh, and hopefully you’ll grow them or visit your local farmers market to pick them up.
3) 4 cups of Sugar. We chose organic, but you know… it’s sugar… so I’m not sure it really makes a difference.
4) Fresh squeezed lemon juice. We used about 1/4 of a cup.
5) Jelly jars, the kind with 2 piece canning lids. Make sure to probably sterilize them, if you aren’t sure how… here’s how.
6) A big ol’ pot.
7) Oh, and some other tools. A citrus juicer, a knife and a wire potato masher.
Here’s how ya do it:
Hold on to yer hat… it’s about to get… easy.
Step 1: Clean your strawberries and pinch or cut the stems off. This process is called coring, and the challenge here is not to eat all the berries before you start cooking.
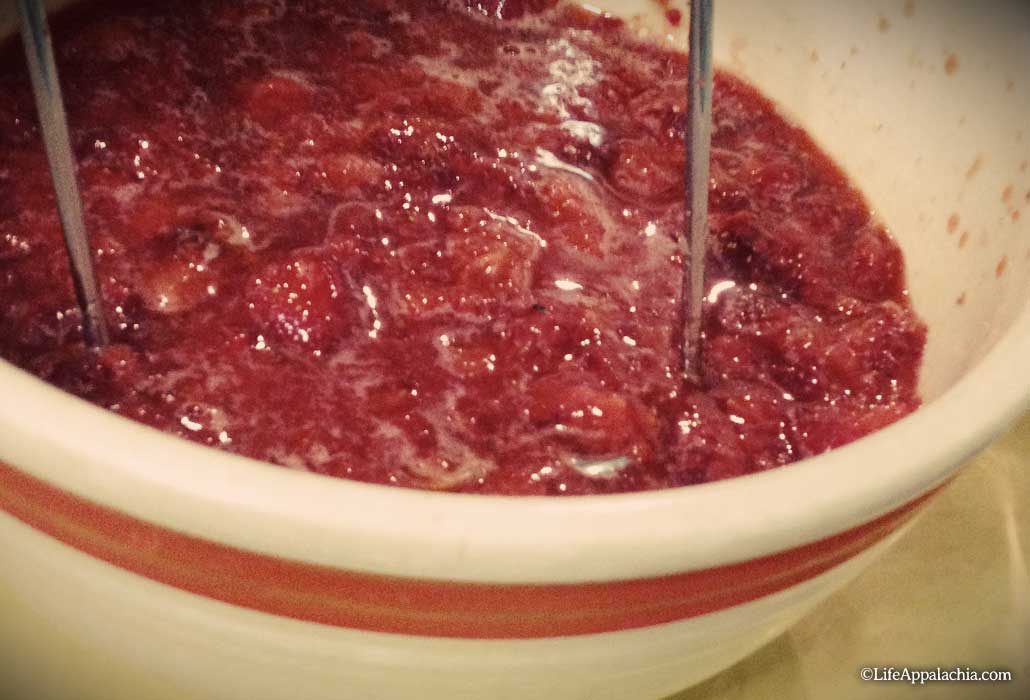
Step 2: Dump, or gingerly place (your call, this ain’t rocket surgery) your strawberries into a bowl and mash them up. When you’re done you should have something a little thicker than a can of crushed tomatoes. We used a wire potato masher, but you could probably use a food processor. You know, if you have no soul.
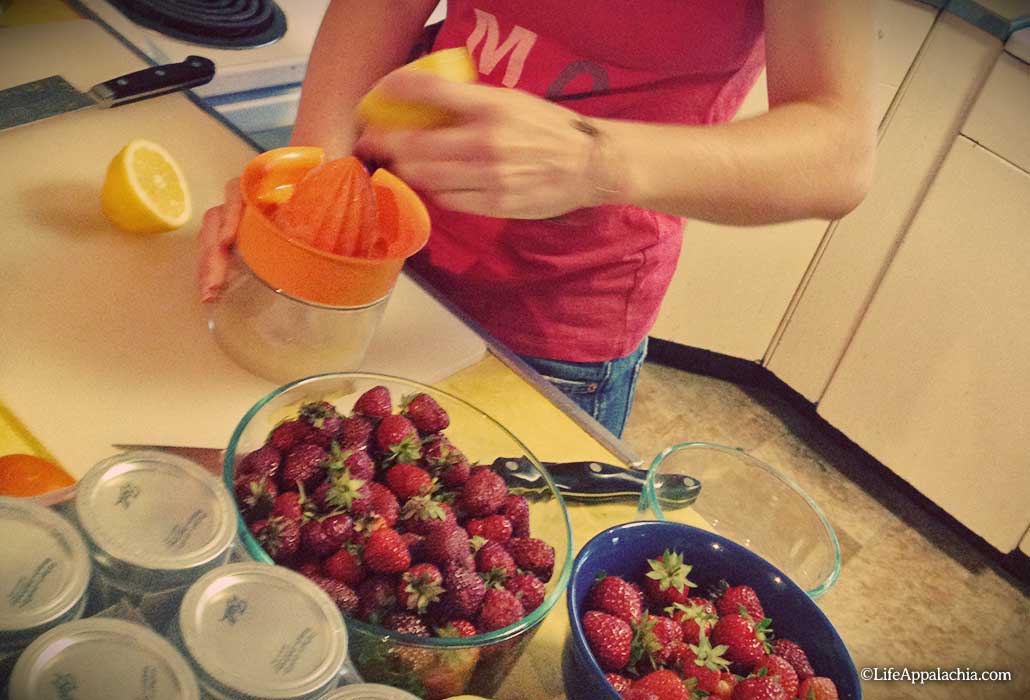
Step 3: Time to squeeze lemons. Roll them on the counter to juice them up, cut them in half and juice them. You probably could use bottled lemon juice… um… if you have no soul.
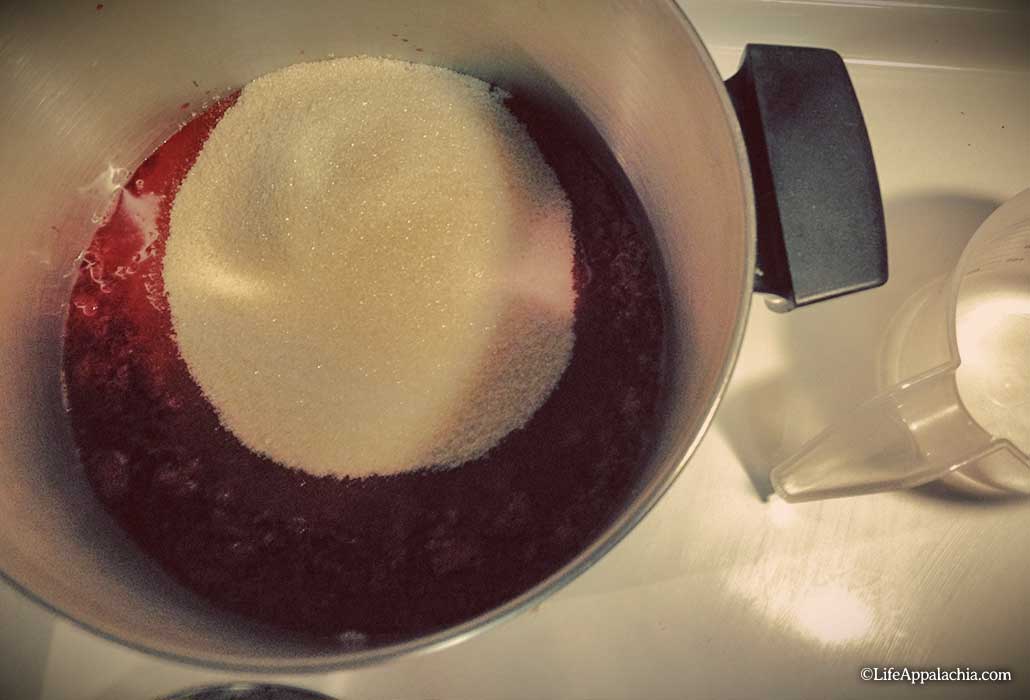
Step 4: Grab your big ol’ pot and dump in the strawberries, sugar and lemon juice. It’s time to boil it down, so grab a beer, turn on some music, you’ve got time to relax while you stir. Here’s the deal, there’s a lot of liquid trapped in those strawberries and you’ve got to boil it off. Stir it occasionally, let it bubble, and watch the heat so it doesn’t scorch.
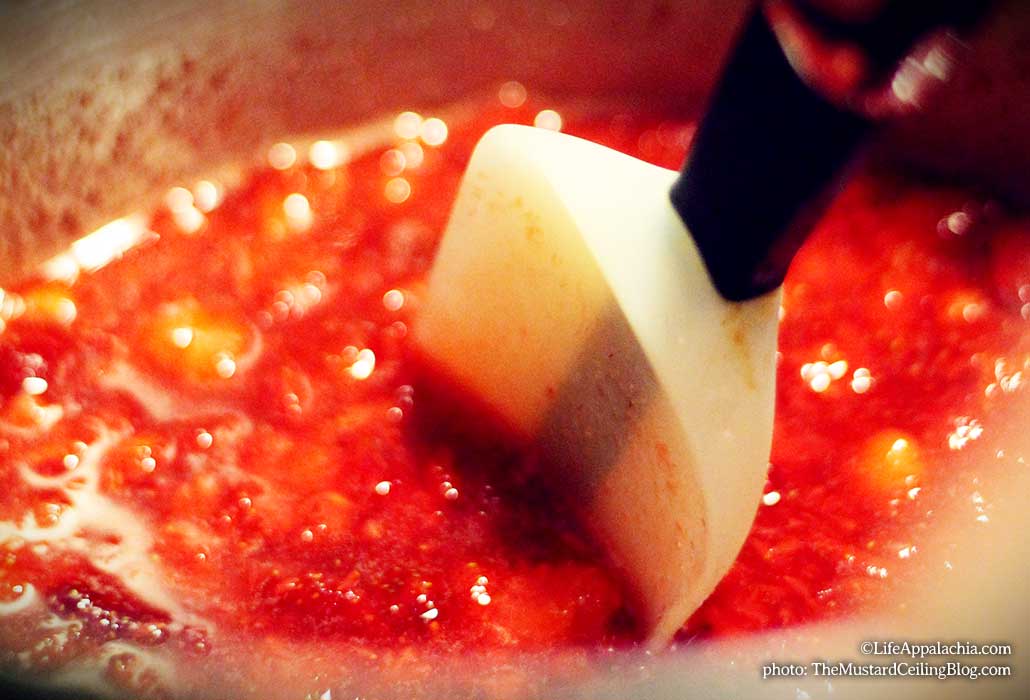
Step 5: Test for proper consistency. The trick to making jam is boiling off enough liquid to make the jam spreadable without cooking off so much that when it cools you have a something short of rubber cement. There are many strategies. One, when you lift your spatula or spoon from the boiling mixture, and the hot jam tends to cling evenly to the entire surface and drip off slowly, you’re probably ready to can. Others say that if you can draw your finger AFTER THE MIXTURE COOLS across your spatula and it leaves a trail… you’re good. Bottom line, don’t sweat it too much. You might nail it the first time, you might not, but whatever consistency you end up with after cooling it’s about 50% strawberries and 50% sugar, so you can’t really go wrong. Our jam was a little thick in the end, but it sure was tasty.
Step 6: Carefully pour your molten lava strawberry sauce into your jelly jars. I recommend popping one in the fridge for rapid cooling and immediate consumption. The rest should go in to your water bath canner to boil, heat and cool. It’s pretty important to follow food safety and sterilization practices when canning any food, food poisoning is terrible dancing partner. It’s easy in practice with a little knowledge… and here’s the knowledge.
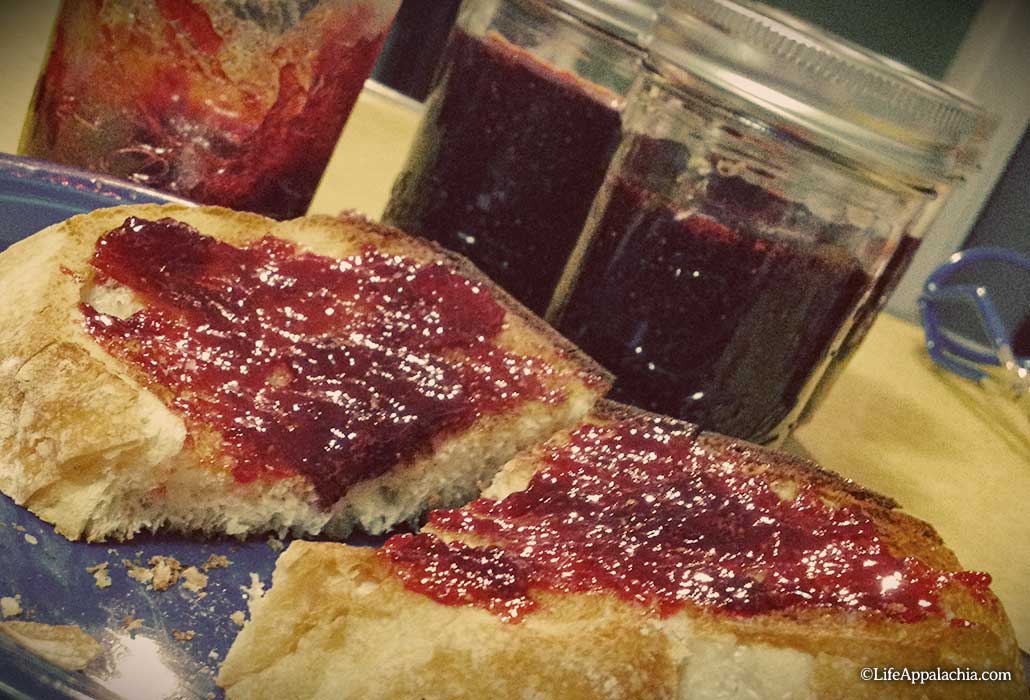
Step 7: Bask in your homemade strawberry jam double rainbow awesomeness. Sorry, you’ll never be content with store-bought jam again.
We’ve ruined you.
You’re welcome.
2 Comments